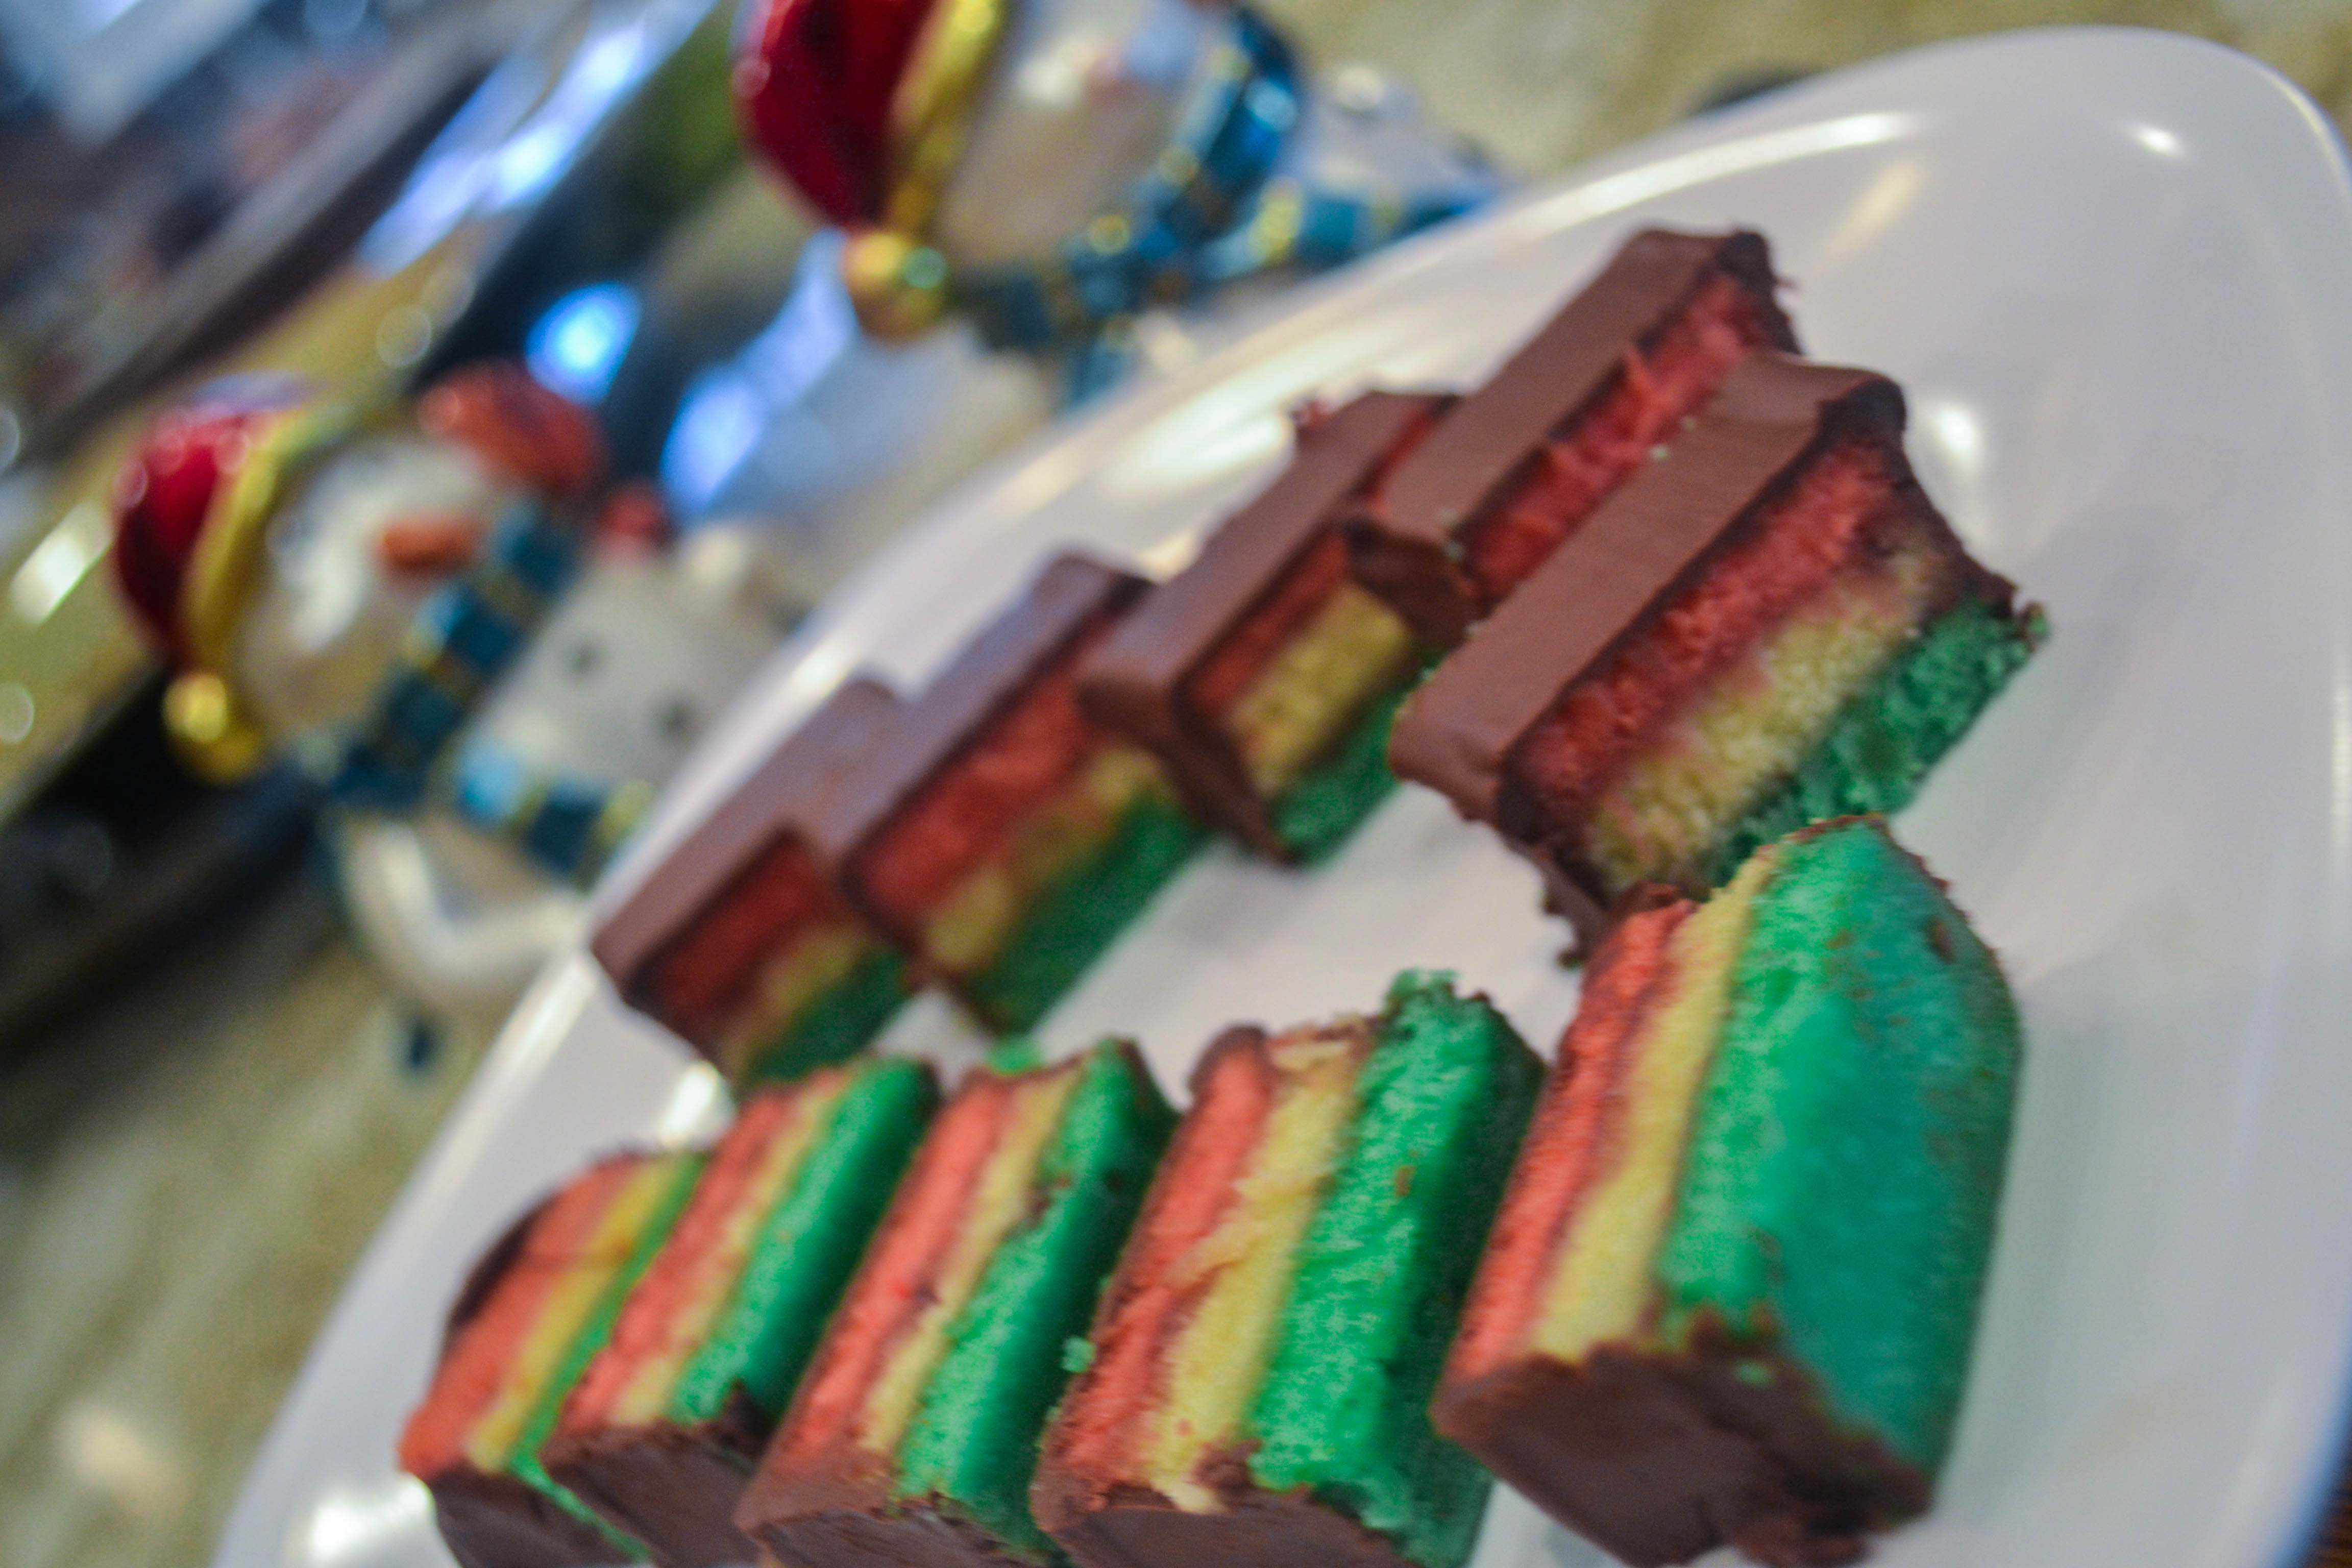
Another addition to my weekly holiday cooking collection – Rainbow/Neapolitan Cookies. Now I understand why they are so popular during the holidays. It is indeed a labor of love and more importantly patience. It takes around 30 hours before you can actually bite into one of these gorgeous creations.
I chose the recipe from Leite’s Culinaria. There are many variations out there, but for me any recipe endorsed by David Leite is worth the effort.
Ingredients:
- 12 ounces (1 1/2 8-ounce cans) almond paste
- 1 cup unsalted butter, slightly firm
- 1 cup sugar
- 4 large eggs, separated
- 1 teaspoon pure vanilla extract
- 2 cups all-purpose flour, spooned in and leveled or 1 1/2 cups sifted matzo cake meal, spooned in and leveled
- 1/2 teaspoon salt
- 6 to 8 drops green food color
- 8 to 10 drops red food color
- 1/4 cup seedless raspberry preserves
- 1 cup apricot preserves
- 10 ounces semisweet chocolate, coarsely chopped
Directions
Make the layers
- Position the shelves in the upper and lower thirds of the oven. Heat oven to 350°F (175°C). Lightly butter the bottom of the three 12 1/4 x 8 1/4 disposable aluminum baking pans or any 3 identical pans you have at home.. Line the bottoms with the baking parchment, then butter the parchment and the sides of each pan.
- Break the almond paste in the work bowl of a food processor fitted with the steel blade. Process for 10 to 15 seconds, or until finely chopped. Alternatively, shred the almond paste on a box grater.
- In the bowl of an electric mixer fitted with the paddle attachment, mix the butter on medium-low speed just until smooth. Increase the speed to medium, add the grated almond paste, and beat until lightened in color, about 2 minutes. Pour in the sugar in a steady stream, beating for 1 minute longer. Then add the egg yolks and the vanilla, beating well to combine. Scrape down the bowl as needed.
- Combine salt and flour, and at low speed blend in three additions, just until incorporated.
- In a clean mixer bowl, using the whip attachment, beat the egg whites on medium speed until frothy. Increase the speed to medium-high and continue beating until firm peaks form. Using a large rubber spatula, gently fold one-third of the egg whites into the batter to lighten the mixture, then fold in the remaining egg whites in two more additions.
- Divide the batter into thirds (each measuring approximately 1 2/3 cups) and place into three separate bowls. Tint one portion with the green food coloring, blending until evenly colored. Tint another portion with the red food coloring, again blending until evenly colored. The remaining batter is not colored. Spread the batters in the pans, smoothing the tops with a small offset spatula. Be sure the batter is evenly distributed, especially into the corners of the pans.
- Bake for 10 to 12 minutes or until the tops are firm to the touch and slightly brown. Let stand on wire racks until cool enough to handle, then invert each pan and peel off the parchment.

Assemble the layers
- Have ready a large sheet of plastic wrap placed on a cookie sheet. Invert the green layer onto the plastic, top side down. Using a small offset spatula, spread the surface evenly with 2 tablespoons of the raspberry preserves. Place the plain layer, again top side down, on top of the raspberry preserves. Align the two layers and press them together. Spread 2 tablespoons of the raspberry preserves over the plain layer, again using a small offset spatula. Then place the pink layer, top side up, on top of the raspberry preserves. Be sure that the three layers are evenly aligned, then press them together again.
- Wrap the layered stack tightly with plastic, sealing the ends securely, and place it on a clean cookie sheet. Place another cookie sheet on top of the wrapped stack and weight it with two or three heavy cookbooks to compress the layers. Let the stack rest at room temperature for at least 24 hours, turning it over once or twice during the weighting period.
Glaze the layers
- Unwrap the stack and set it on a cutting board. Using a large serrated knife, trim 1/4 inch from all sides. Then cut the stack into five equal strips, each measuring approximately 1 1/4 inches wide. Separate the strips and place them on a large wire rack set over a cookie sheet.
- To make the apricot glaze place the apricot preserves and 2 tablespoons water in a small saucepan. Bring to a boil, then simmer for 1 minute. Pass through a fine strainer into a bowl and discard the pulp. This can be made ahead and reheated just before using. Brush a thin layer of the warm glaze on the top and sides of each strip to seal the surface. Let stand for 1/2 hour or longer.
- When ready to coat the strips, fill a medium pot with 1 inch of water and bring it to a simmer. Place the chocolate in a large bowl and set it over the simmering water to melt, gently stirring occasionally with a rubber spatula. Watch carefully! The chocolate should not become too hot. When the chocolate is almost melted, remove it from the heat and allow it to stand until it is completely melted. Gently stir occasionally. It is ready to apply when it is smooth, tepid, and the consistency of chocolate syrup. (Note: If the chocolate becomes too thick, warm it over simmering water until it reaches the correct consistency.)
- Working one strip at a time, spoon about one-fifth of the melted chocolate down the length of the strip. Using a small offset spatula, spread the chocolate evenly over the top and sides, taking care to smooth all surfaces. Repeat with the remaining strips. Let the strips stand at room temperature until the chocolate hardens. This can take several hours depending on the temperature of the room and climate conditions. Cut each strip into 5/8-inch slices.

About Author
You may also like
-
Meeting New Year’s Resolutions with Chef Gary of @YCentralFlorida!
-
Sample, Sip, Save at @WholeFoods Market’s Taste of Thanksgiving! #thanksgiving
-
Delightfully Delicious: Mango Lassi Popsicles with Saffron & Mint!
-
Simply Seductive: 20 Layer Crepe Cake Kissed with Grand Marnier Pastry Cream!
-
Ultimate Chocolate Chip Cookies – The One & Only Recipe You Will Want!